Pallet Wood Coffee Table
Warning: Please consider that this post is over 8 years old and the content may no longer be relevant.
I’ve recently become addicted to pallet wood projects on Pinterest, there’s something beautiful in breathing life back into old wood, and best of all it’s free. After finding a free source of pallets I’ve tried my hand a couple of projects, some shelves for the bathroom and a pallet wood stool, I was pretty happy with the results so I thought I’d try my hand at something more substantial, a coffee table. I based my design off of this table from Pinterest, however it was a little too rustic for my wife’s taste and the colour needed to match our decor.
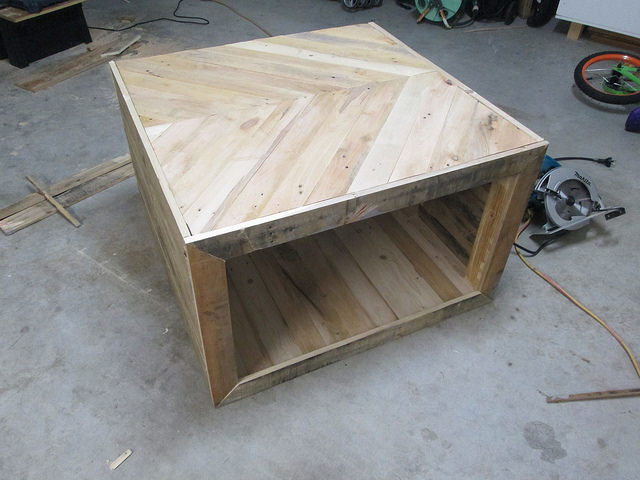
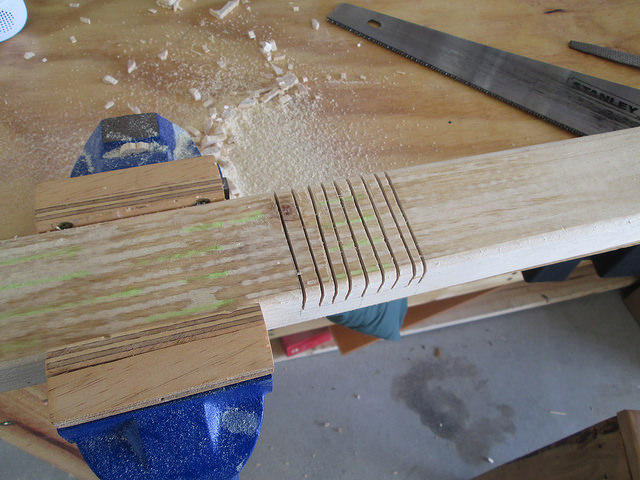
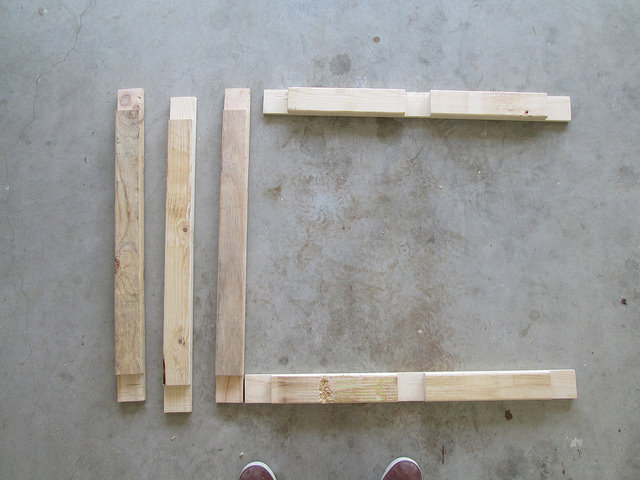
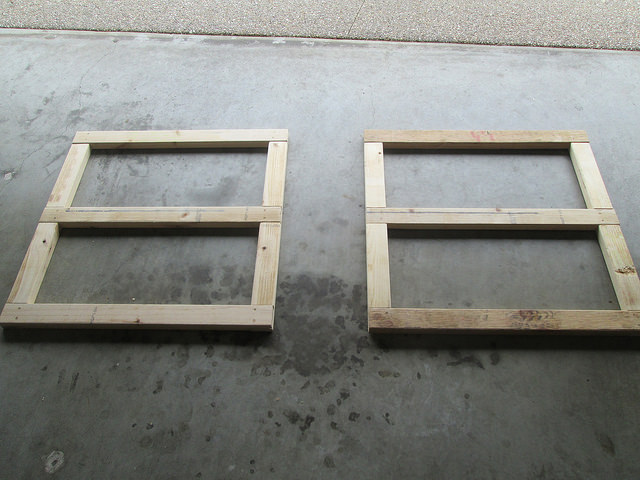
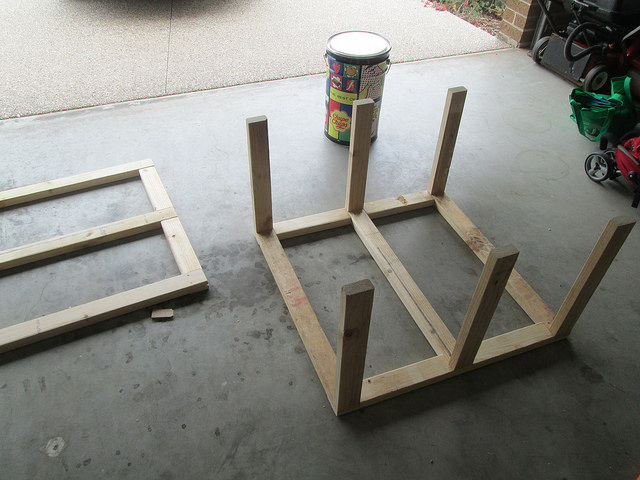
I knew my kids would end up climbing all over this so it needed to be sturdy, I decided to cheat and use a mix of new wood and a length of old building supply for the frame. The first challenge was making the frame flat on all sides so I could line it with pallet wood, to achieve this I made some crudely cut lap joints with a handsaw and chisel and when assembling I made sure to offset the nails so I could drive the longer nails for the legs through both pieces.
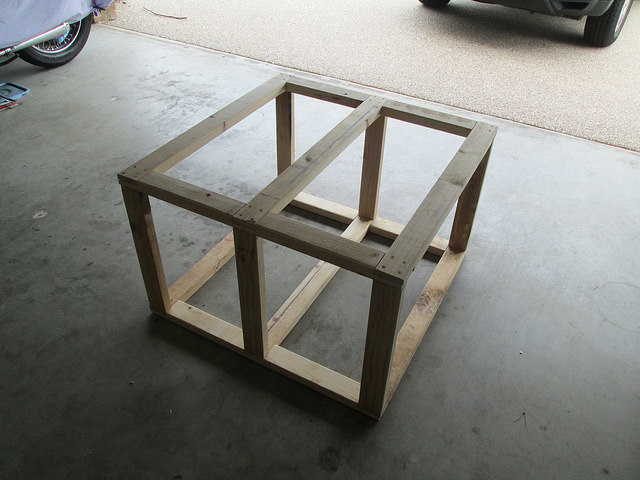
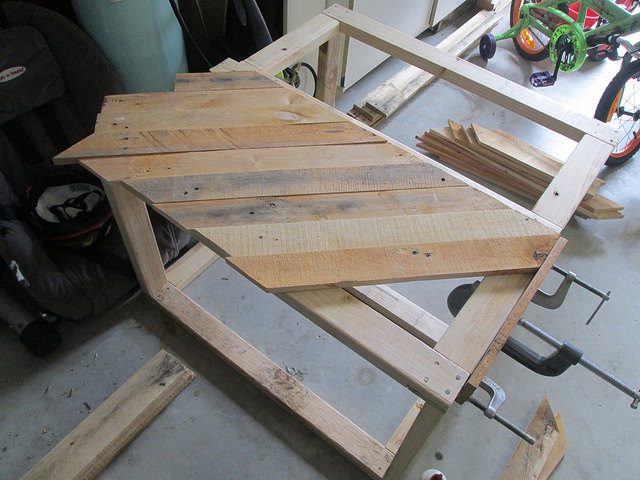
Now that the frame is in place the next step is lining the panels with pallet wood. Pulling pallets apart was one of the most laborious tasks, initially I used a mallet, crowbar and hacksaw to try and pry apart the pallets and cut off the worst offending nails, this is slow and exhausting. I now use a reciprocating saw with a demolition (wood and metal) blade with the occasional hammer and chisel to help expose the nails, however I’ve also seen these pallet deconstruction tools, they might be worth a try.
I started with the top chevron design and the bottom floor, each took about 2 pallets of wood, with the sides requiring a pallet each. I used bullet head nails and sunk them deep so they wouldn’t stand out much between the other old nails and holes in the wood. The easiest way to get clean edges is to let the wood overhang then run a circular saw along the side.

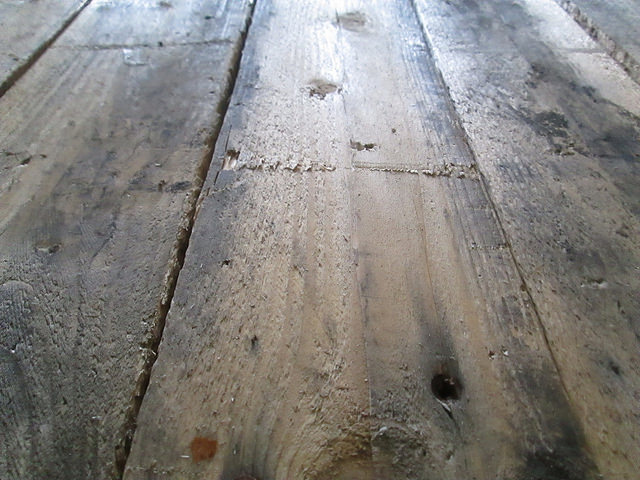
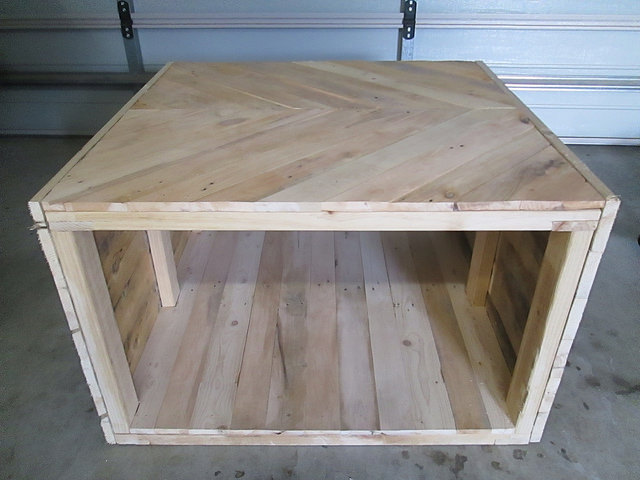
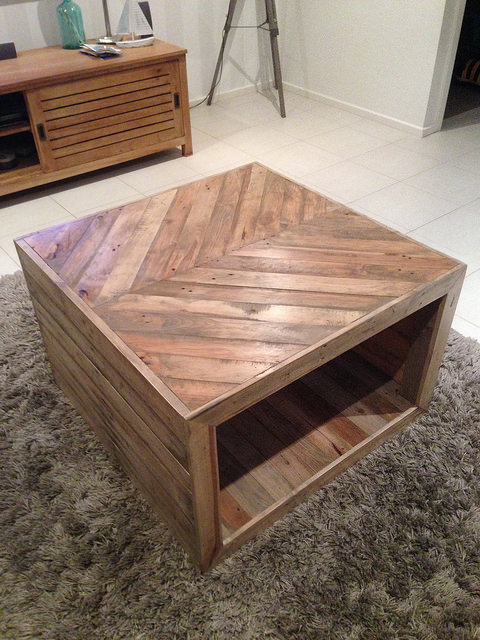
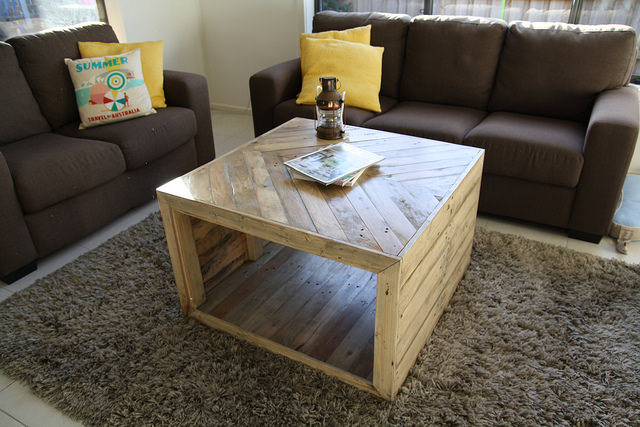
Much of the wood looked great and worn as it was, it was sad to have to sand it down but I wanted a consistent finish. I used Minwax Weathered Oak stain with a Polyurethane finish (I figured it would see some abuse). I’m really happy with the end result.